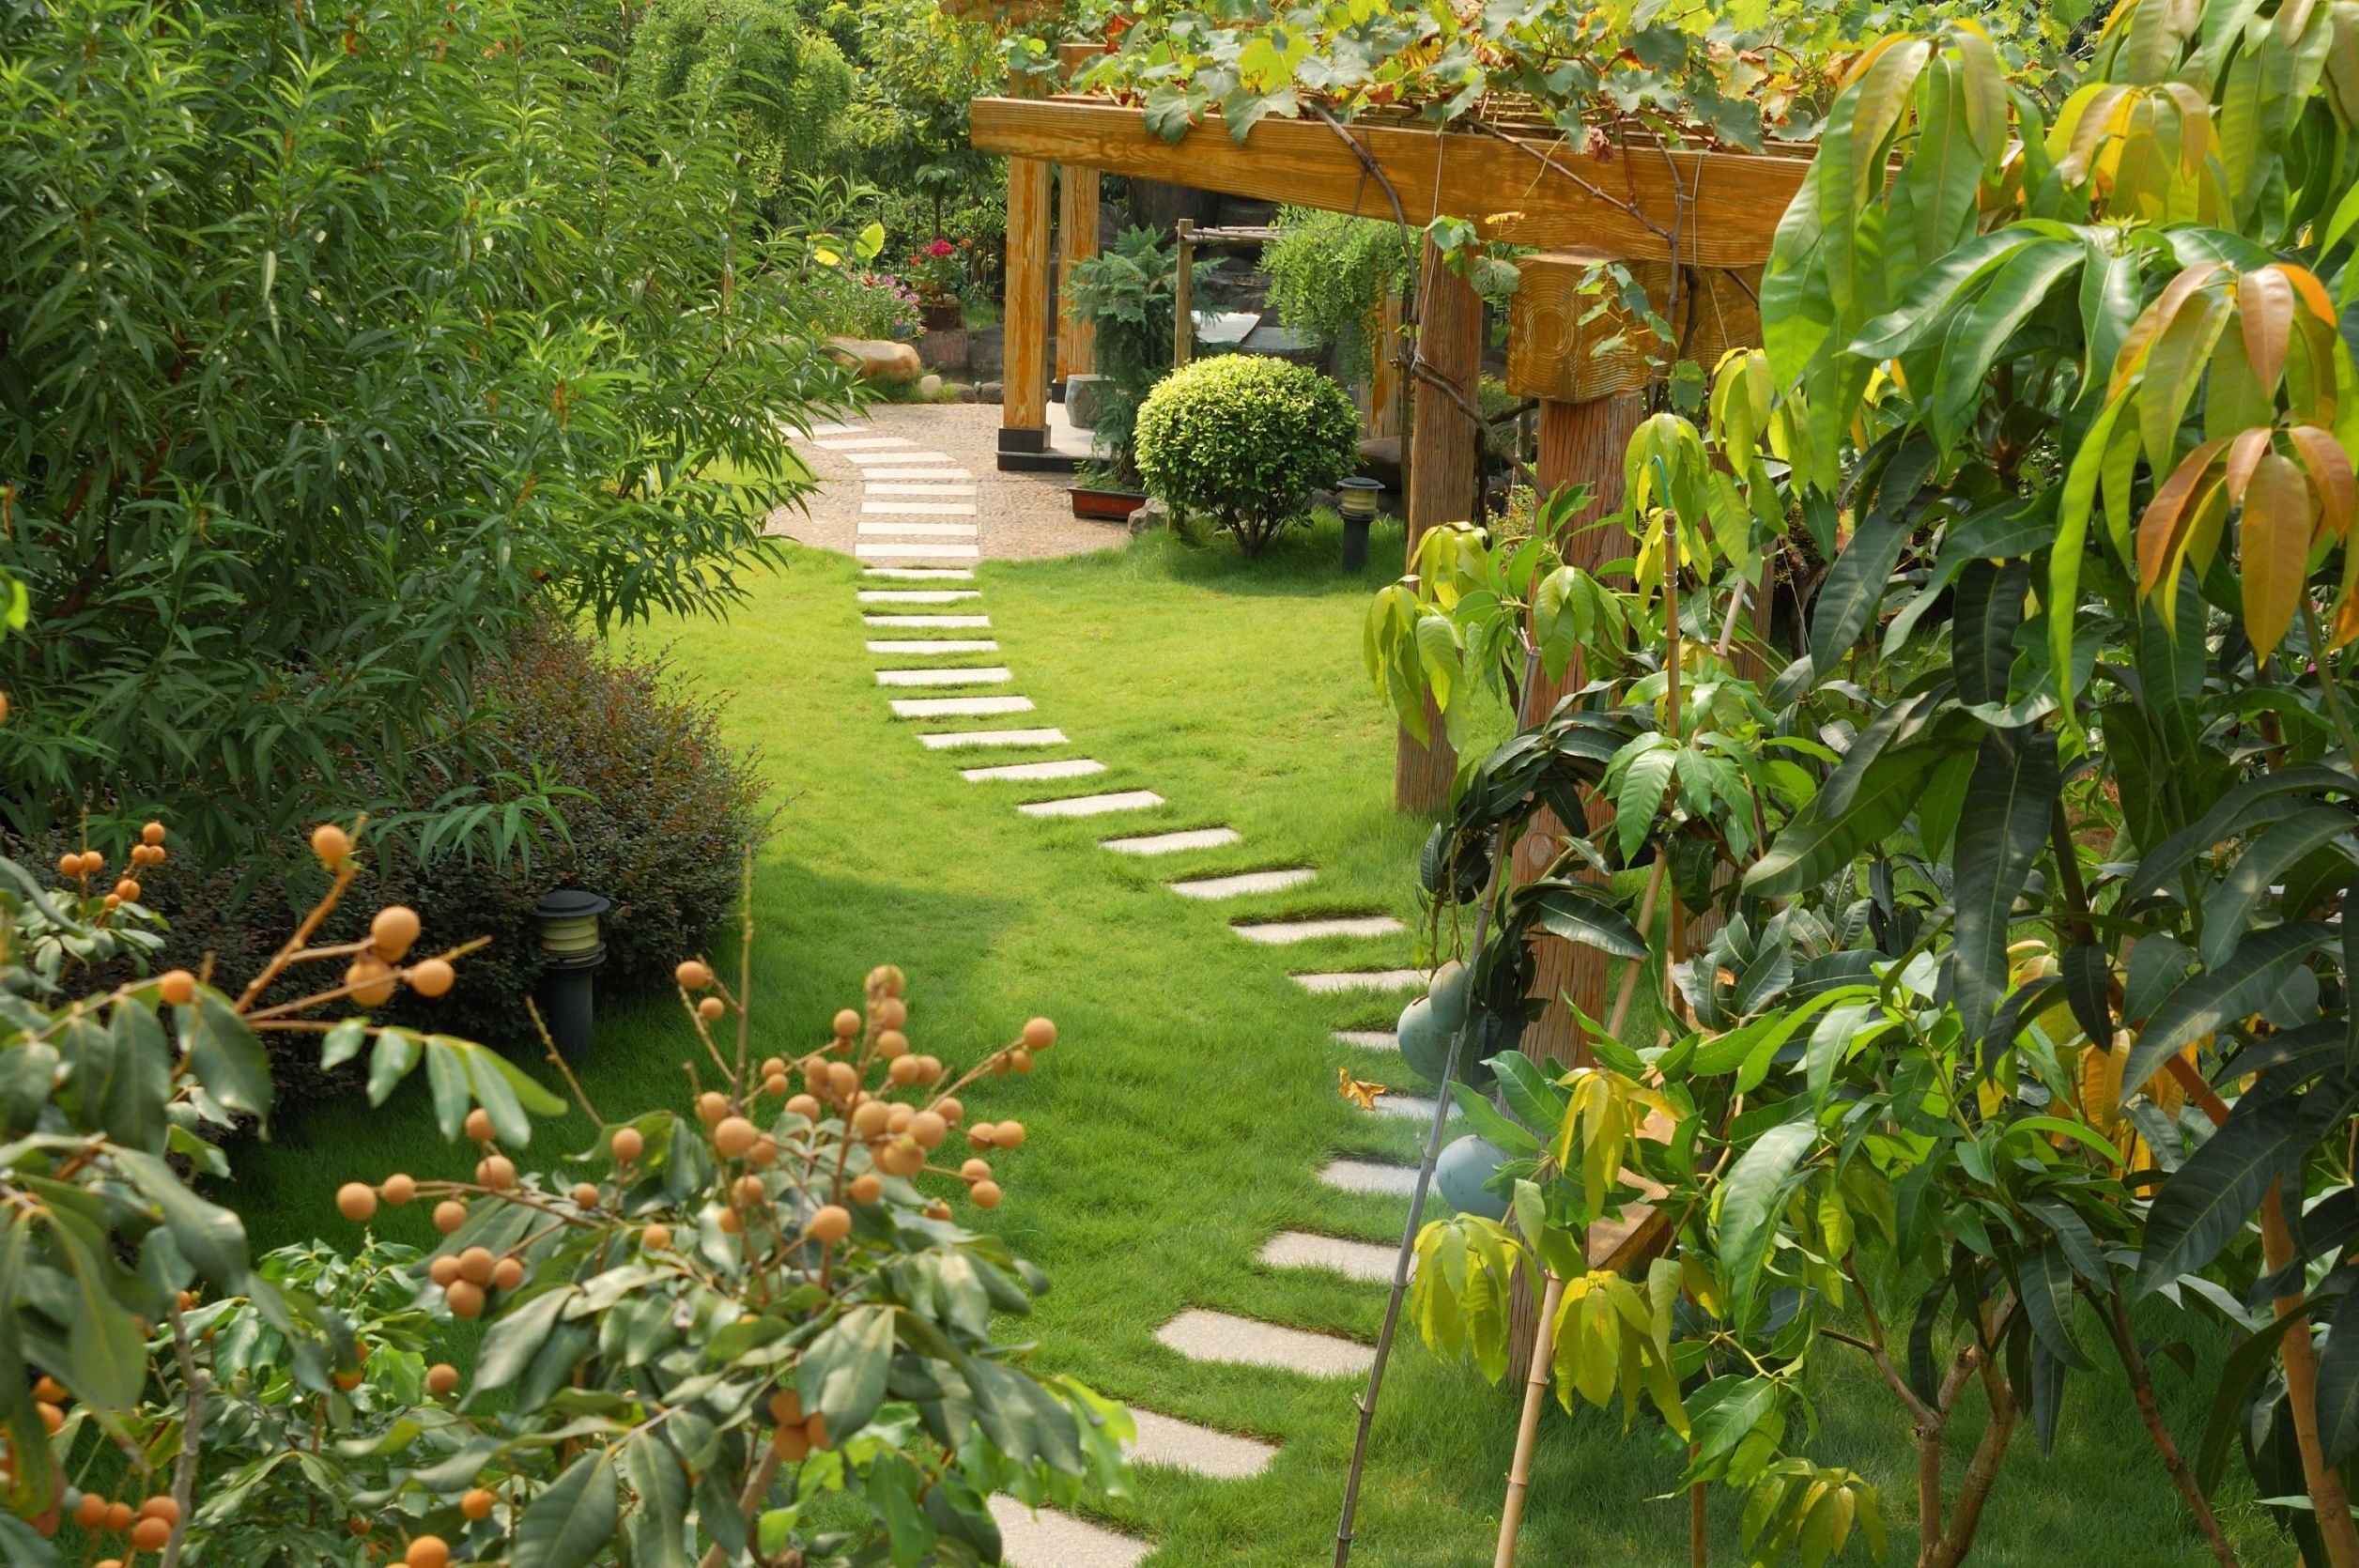
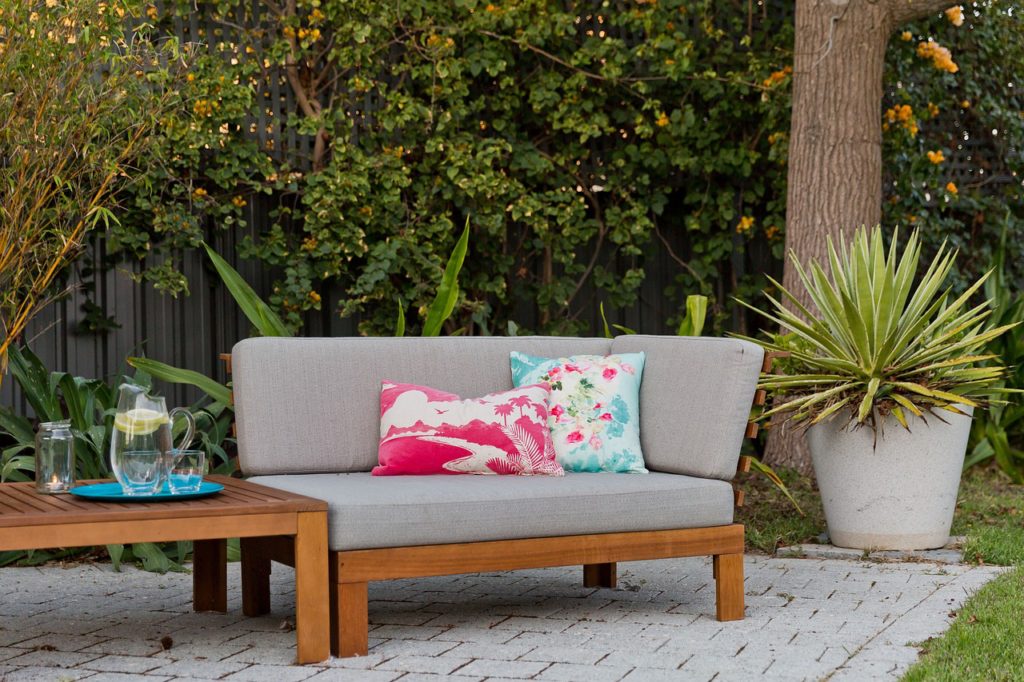
A garden path functions as a surface to walk on but also as a thing of beauty. Not only are they beautiful themselves but they add beauty to your garden or patio. Luckily the easiest path to create is one of the best looking. A simple stepping stone path is so effortless to make that anyone can do so.
Choosing Your Stepping Stone Material
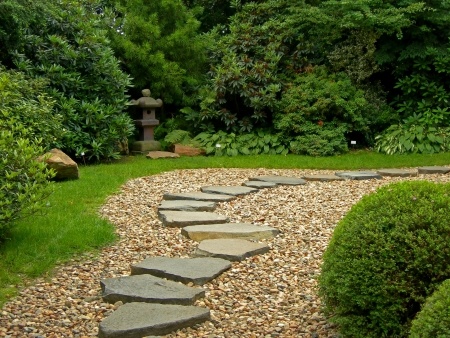
There are many options to choose from when deciding on a material for your stepping stone pathway. Taking a trip to your local garden center or stone yard is the best way to see your options firsthand. Flagstone with its irregular shapes yet smooth surface is a great choice, as is fieldstone which is rougher in texture.
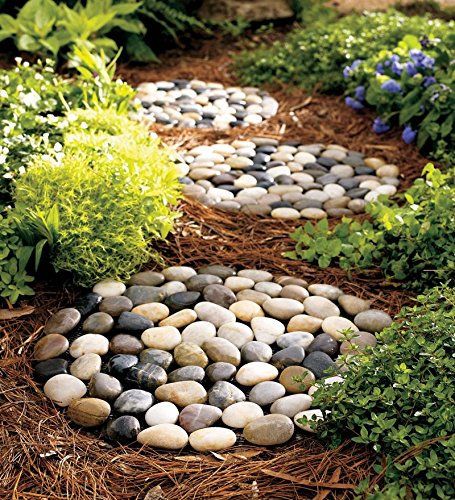
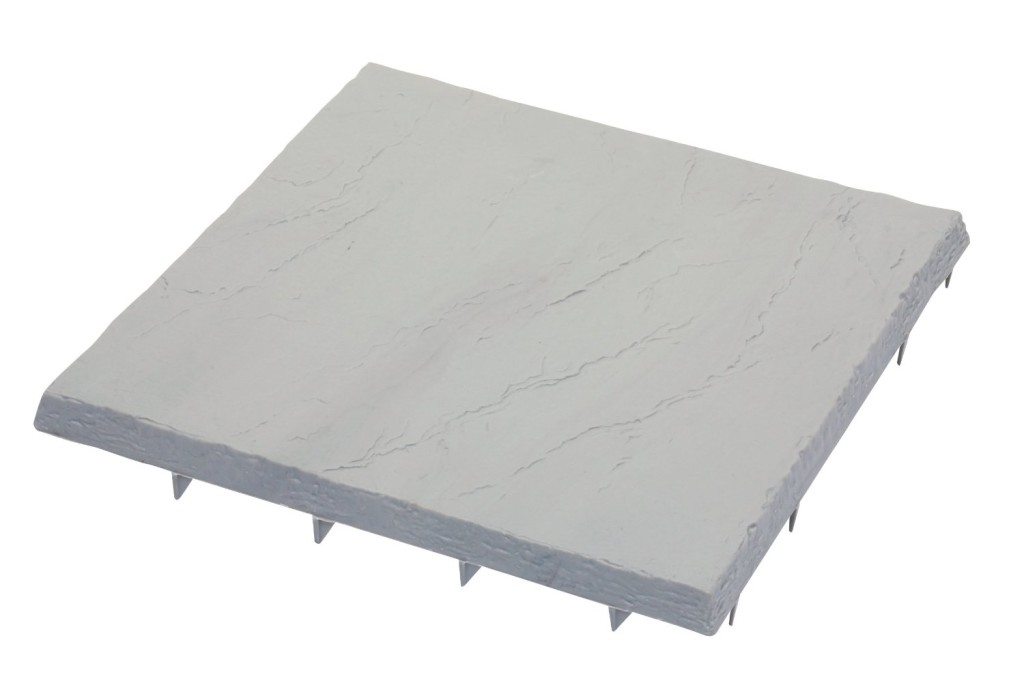
Both square and circular concrete pavers are another popular choice. Natural stone can be used as well however you will need to find pieces that are as flat as possible. Regardless of your preference, you want to choose stones that are large.
A good size stone is about 14-15 inches long, 18-19 inches wide and about 2 inches thick. If you are planning on having a raised pathway you should choose thicker stones, about 4 inches should do.
Stepping Stone Placement
In creating a stepping stone path you just need to keep a few things in mind. The most important thing is to remember that the stones need to be spaced so that it matches the gait of someone walking on the path. They don’t need to be a uniform distance apart; you want to be able to reach each stone in the path in a natural stride.
The most common mistake is placing the stones too far apart. Another important thing to keep in mind and one which many homeowners forget is that whatever stones you choose, they should be placed with the widest part facing you as you walk down the path.
Placing the stones the opposite way, with the narrowest part facing you will always look awkward. One reason a stepping stone path is so easy to make it’s that it can be straight or curved it’s up to you and your space. Either looks great and is easy to change if you need or want to.
Laying Down The Stones
When setting the stones down many homeowners simply place them right on top of the soil. Another option is to dig a shallow hole for each individual stone. Make sure each hole is roughly the same shape as the stone you will place in it. The holes should be as deep as about half the thickness of the stones.
Add one inch of sand to each hole and then slide each stone into place. This may take some wiggling around. If you plan to mow this area it would be a good idea to make them flush with ground level. If not you can have them raised above it, which looks great too. That’s it!
As you can see creating your own stepping stone path is not only easy but also doesn’t require any construction or building skills whatsoever. Just choose your stone material, make sure the individual stones are large, place them with the widest part facing you, space them apart so they can be reached in a natural gait, and lay them down.
A stepping stone path is a simple project that is guaranteed to add natural beauty and function to your garden or patio as soon as it’s the last stone is put in place.
***Extra Stepping Stone Path Tips***
-A stepping stone path will always look better in an area that is relatively flat.
-Placing large attractive stones at the beginning and end of the path is a simple trick to make the whole path look more attractive as a whole.
-Many people like to place multiple stones close together at both the beginning and end of the path signify the path’s start and finish.
-Placing wood chips, small stones, or gravel around your stepping stones is an easy and inexpensive way to make your path look even better.
Start Shopping for Stepping Stones!

The Evolution Of Composite Decking
Today decks are a must-have for the modern home, but they have been around for more than five decades providing a space for families to enjoy the nature and space common to backyards. The growth and diversification of the entire decking industry have been significant...
5 Green Rooftop Deck Design Ideas
Green rooftops were first spotted in urban environments where they were used as a way to help add some green space to roof terraces. From there, the idea began to spread as it was discovered that green roofs also helped to filter water, insulate the building they’re...
Selling a House? 5 Ways Your Garden Scares Away Buyers And What To Do About It!
When you’re selling your home, it’s easy to get wrapped up in the look of the interior. You brush on some neutral paint, declutter and make repairs. But your garden (or yard if you're in the U.S.) can be equally as important when it comes to a house sale. You need to...
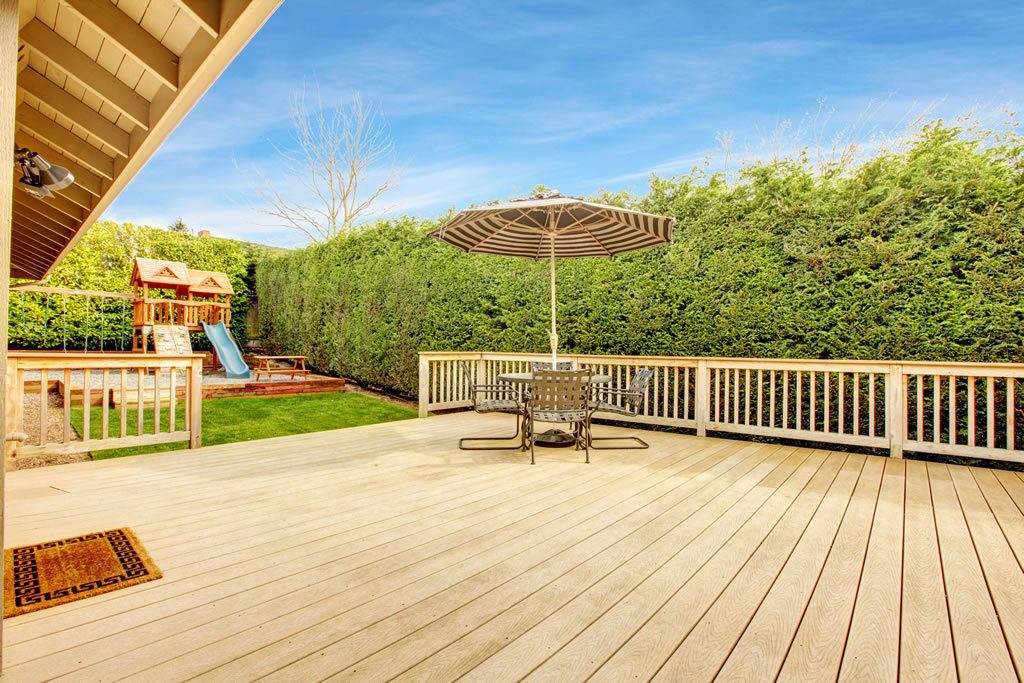
Walk Deck Solutions For Your Home And Property
There is no better way to enjoy the outdoors and fresh air than with a walk deck. Made out of wood, plastic or even concrete these structures are not covered with a roof. They are a great solution when you have some extra space and don’t know how to use it, or you can...

Replacing Your Outdoor HVAC Unit
If your outdoor HVAC unit seems like it’s on its last leg, then it’s best to go ahead and replace both the indoor unit and the outdoor heat pump or air conditioning unit at the same time. Unfortunately, this is a necessary evil. The indoor air handler and the outdoor...

Window Manufacturers List Pros and Cons of Triple Glazing
Over the past few years, building standards around the world, but especially in the UK, have undergone massive changes. Among the most notable of these are the Zero Carbon Homes initiative and the Code for Sustainable Homes. In response to these changes, the...

A Project You Can Easily Accomplish with DIY Concrete Supplies
Creating outdoor furniture can be really fun. A lot of people discover that it can be much less stressful to take on compared to other DIY projects because it doesn’t always need to be perfect. Also, you can actually work with old furniture you have and give it a new...
Concrete Landscaping Is The Secret To An Affordable But Gorgeous Outdoor Makeover
Do you want your yard to have a clean and polished look? Of course, you do! Landscaped yards offer amazing curb appeal to your home and can increase the value of your home and surrounding homes. Plus, looking out at a beautiful yard will simply give you a feeling of...
Should You Get Tilt and Turn Windows or Sash Windows?
It may not initially seem like a subject that would require much thought and deliberation, but homeowners are learning that choosing windows for their property must actually be done with careful consideration. The right kind of windows can significantly affect the...

Using Decorative Concrete to Upgrade Your Home’s Style
Concrete is one of the most popular building materials and this is evident by the fact that you can practically find it used everywhere, from residential properties to commercial establishments. The chief advantages of using it are that it is readily available and,...
5 Stunning Designs That Will Inspire Your Paving Project
Whether you are thinking about updating your garden’s existing space, have a completely blank canvas, or want some paving ideas for your next patio project, try some of these 5 designs for inspiration. From rustic and modern to Mediterranean, urban or traditional,...

How to Protect Your Deck for Cold Weather: Winter Patio Tips
The nights are longer, temperatures lower and winter will be here before we know it. But, there’s still plenty of time this season to get out there to protect that patio from winter’s wrath. And although we typically only think about our decks in warmer months when we...

Sash Window Buying Guide
Are you replacing your windows to improve your home’s style and function? This is an exciting undertaking, especially if you don’t have a specific design in mind yet because the selection of window styles is vast. It’s good to be open to all the available provisions...
What’s Right for Your Garden: A Stone Patio or Decking?
Whether you’re landscaping from scratch with a blank canvas or redesigning your existing garden space, you’re almost certainly going to want an area to include either a stone patio or wooden decking. Patios and decking have increased in popularity in recent years....
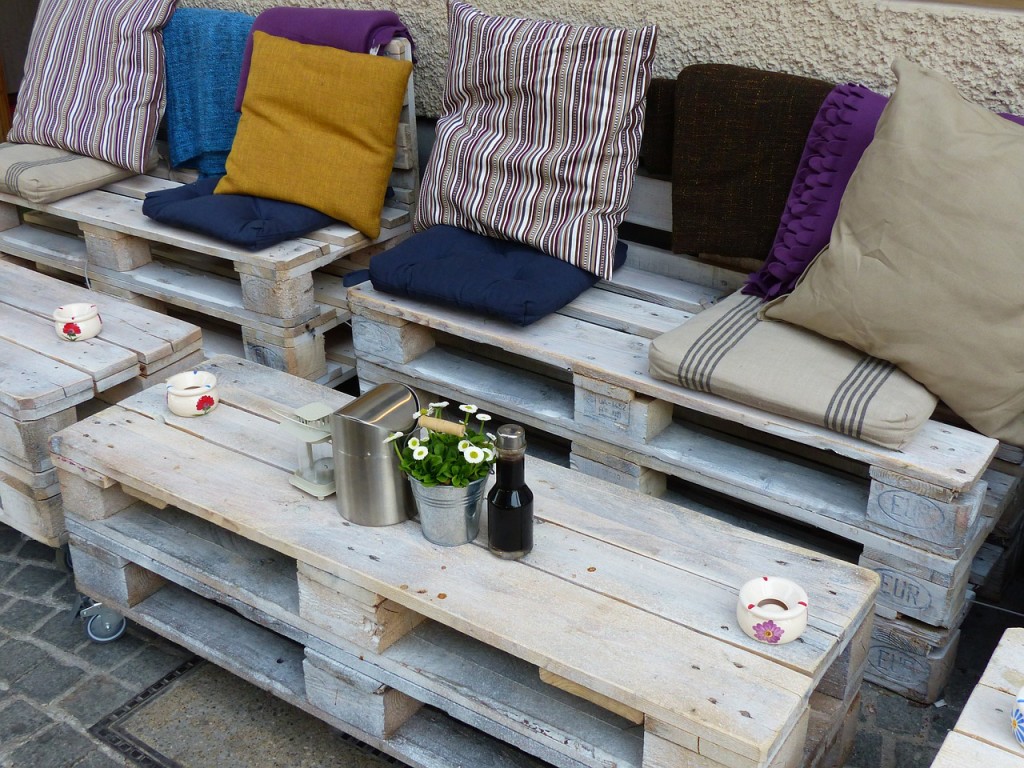
Adding The Finishing Touches To Your Garden With Pallet Seating
The garden is a very important space for many homes, it provides busy working people with a chance to be outside and relax. In some instances, it really is just treated like another room, and like any room inside a house, it needs furniture. But what kind of furniture...
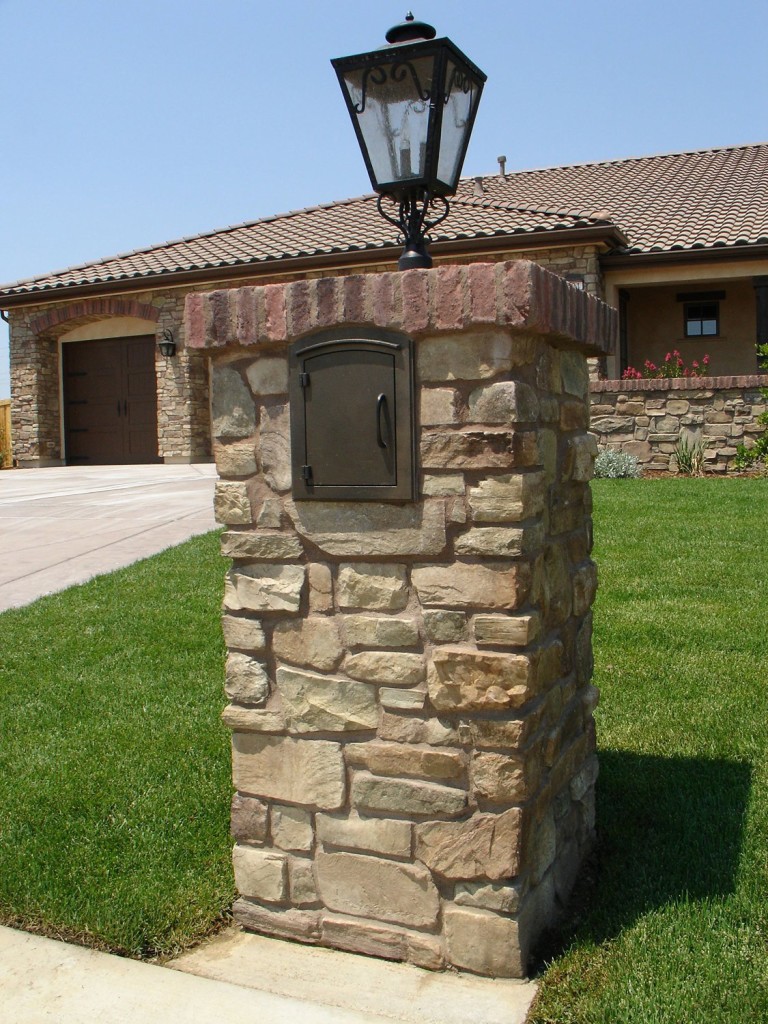
Build Your Own Brick Letterbox
Installing a brick letterbox in your front yard can increase the curb appeal of your home. Building one is a straightforward process that you can finish over the weekend. This project will only require a few tools and materials. You will need a fiber banister brush, a...

Outdoor Tiles Have What You Need
Tile is known for its extensive use inside the home, but it can be just as useful outside as well. In fact, there are outdoor tiles made from countless materials for just about every purpose. And each has its own look and style. Before you decide on a material,...
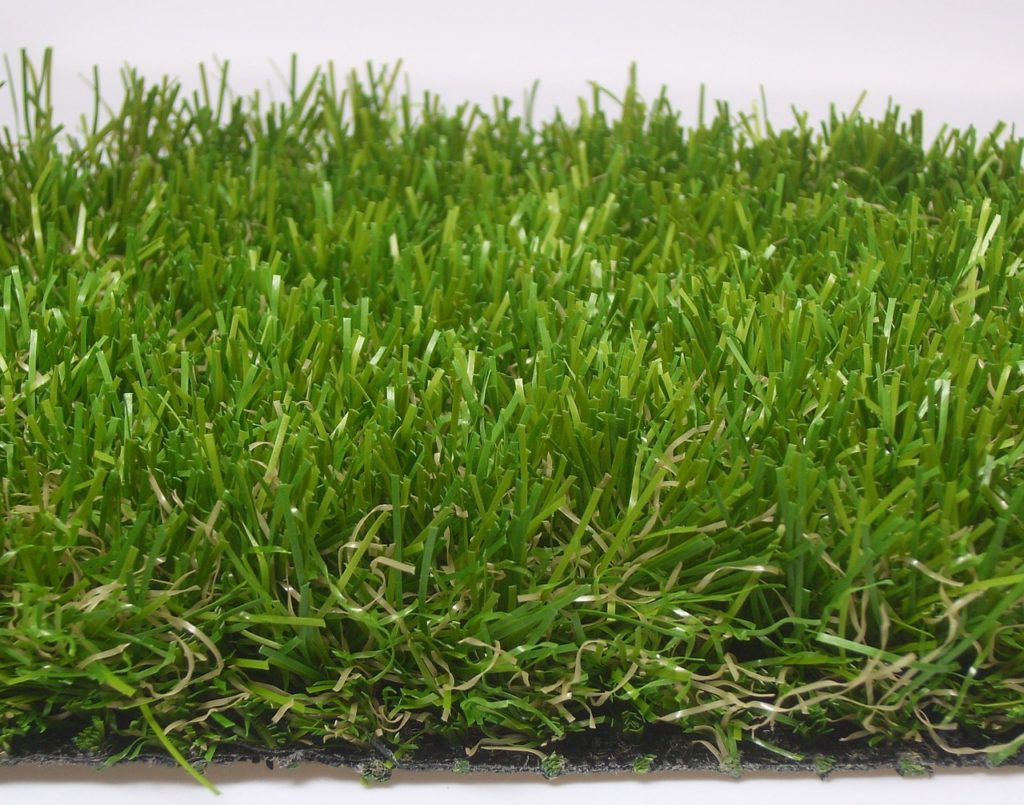
Lawn Saver – Artificial vs Natural Turf
Every backyard needs a lush expanse of green lawn, or so we’re told. However, with brutal climates and droughts keeping a lawn alive, let alone thick and green, can be more of a struggle than it’s worth. This is why so many people these days are turning instead to...
Inexpensive Patio Design Ideas
Upgrading your backyard patio will not only make it more appealing but it will also increase the value of your property. However, that does not mean that you must spend substantial amounts of money customizing your patio. With a little creativity, you can design...
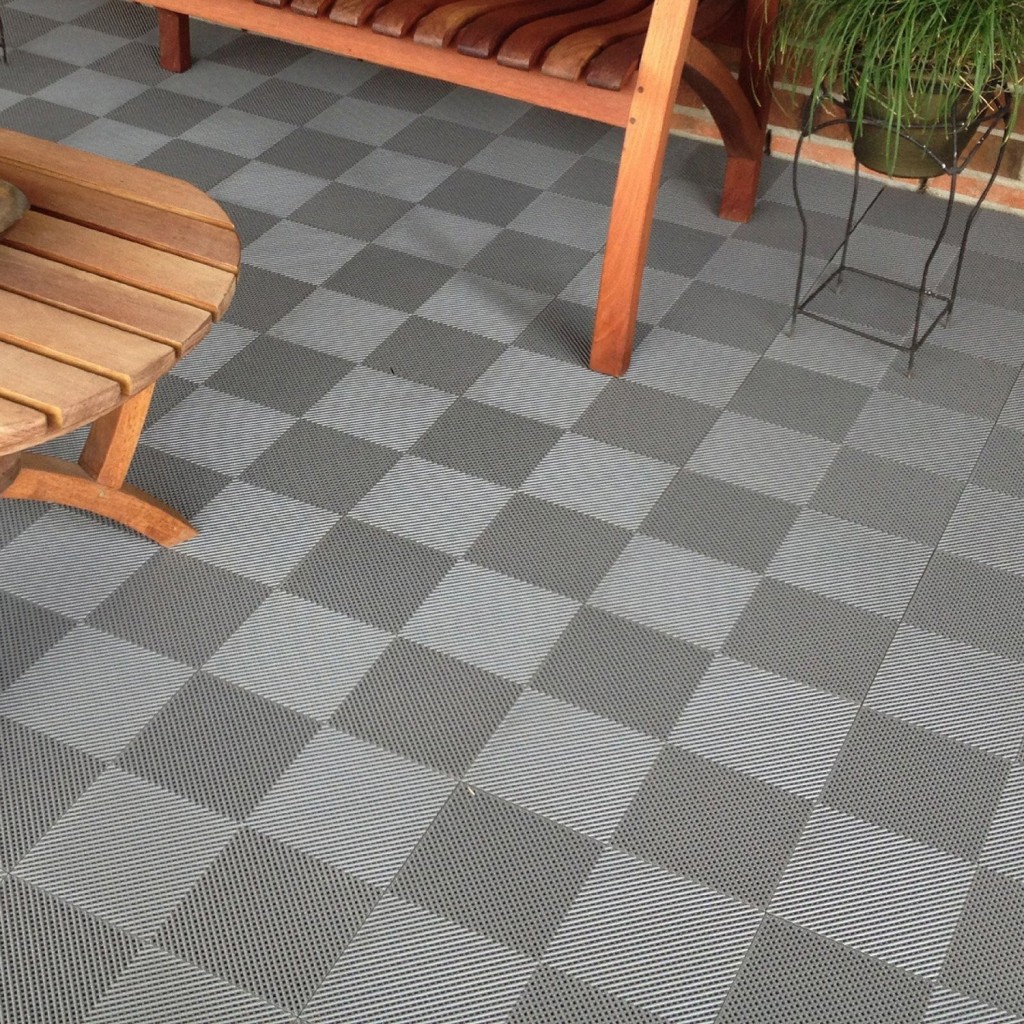
Rubber Patio Tiles Protect And Serve
Buy on Amazon Many types of outdoor flooring are used specifically for their beauty or all-around versatility. However sometimes, particularly when wet or damp, these same materials can be surprisingly slippery. Their toughness, while it may have been one of the...